Did you know we also repair guitars? Watch us step you through a 1968 Martin D-28 bridge repair.
As well as custom build we do repairs. I thought I’d spotlight a repair we did on a vintage 1968 Martin D-28 acoustic with a cracked bridge. The guitar had had the bridge worked on previously with at least one bridge re-glue being done. Upon removing the bridge I suspected it had been re-glued multiple times.
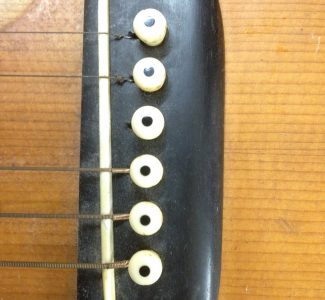
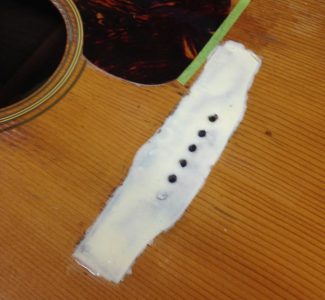
Here is a close up of the bridge as it came to me. At first glance it doesn’t look that bad aside from a badly worn saddle. The dust and old strings tell a tale of a guitar that had gone unplayed for a long period of time. The customer confirmed this.
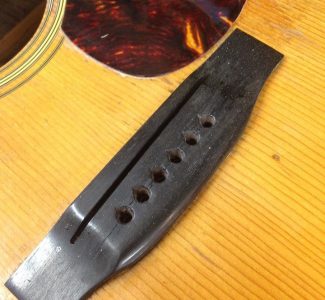
Upon closer inspection we can see that there is a crack going directly through the bridge pin area. Unfortunately there’s no salvaging this. The bridge has to be removed and a new bridge fabricated and installed in its place.
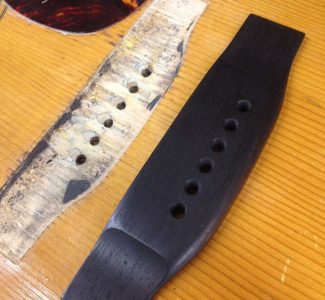
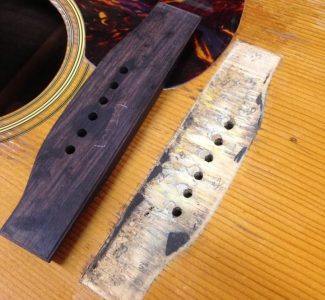
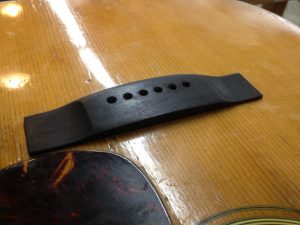
Here we have the old damaged bridge removed. The old bridge didn’t follow the traditional Martin style so I custom fabricated a new one out of ebony that more closely follows the classic Martin style. I didn’t document the fabrication of the new bridge but will be doing a blog entry on that at a future date.
You can see how mucked up the wood underneath the old bridge was. The deeply gouged up wood under the bridge presents some challenges in re-gluing the new bridge. When a new replacement bridge is fabricated it is made a few thousandths of an inch larger than the old one it’s replacing so that it will hide the scared edges where the old one sat and look clean. The problem we encounter here is that there have been multiple bridge repairs done in the past and there is now a slight recessed cavity instead of a smooth flat surface. This is caused by the old bridges pulling up small amounts of the soundboard while being removed and ben scraped down flat before each re-glue. If I were to fill this void with glue and clamp there would be little or no wood to wood contact and the glue joint would almost certainly fail in time.
Again when you replace a bridge you make the next one slightly larger to help cover the scars from removing the old bridge. In this case its about .015″ larger all the way around. Because of this I had to carve a lip into the bottom edge of the new bridge so the bottom would receive a good glue bond to the guitar top and at the same, that the edges of the new bridge would sit flush with the soundboard top. Because the “pit” where the old bridge wasnt completely level I had to match the lip to the sides exactly. In some places this was almost .014″ difference.
Here is the pool filled with glue before clamping. I use regular Titebond II for this. When gluing up a bridge I’d much rather error on the side of too much glue and having to clean off some squeeze out than winding up with a glue starved joint. The green tape over the edge of the pick guard if to prevent glue and moisture from creeping under the scratch plate when cleaning up the squeeze out.
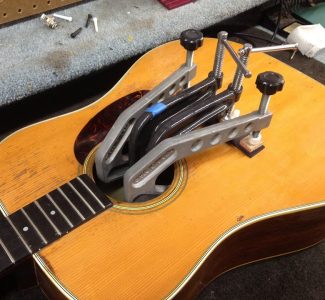
Here is a picture of the bridge clamped up, cleaned, and waiting to dry. The guitar will sit like this for a minimum of 24 hours and preferable two days.
24 hours later the clamps come off and here is what we have. A brand new bridge that should last many years to come. The underside is positively bonded to the sound board and the edges sit flush on all sides, hiding any signs of previous repairs. Next is intonation and bridge saddle placement
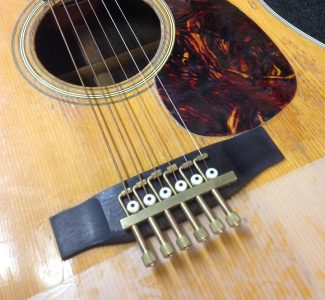
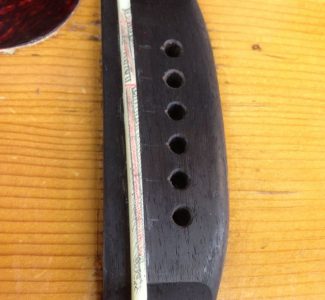
This little gizmo lets me string the guitar up with the new bridge and easily measure for exact intonation but without the new saddle installed. The crown of the saddle positions are marked on the bridge for the new saddle slot to be routed.
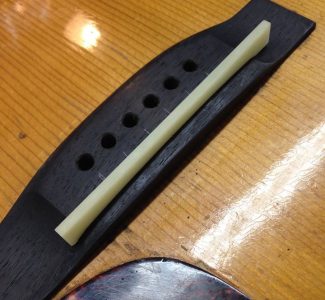
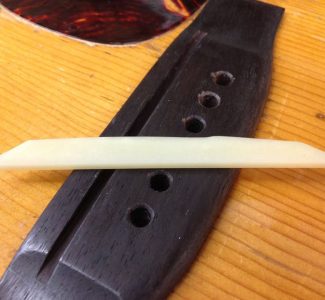
I got side tracked and didn’t snap a picture of the saddle slotting jig that was used for this procedure but this is the final result. A proper through Martin style saddle slot and a new bone saddle blank fit. Next step is to shape the new saddle with proper intonation compensation.
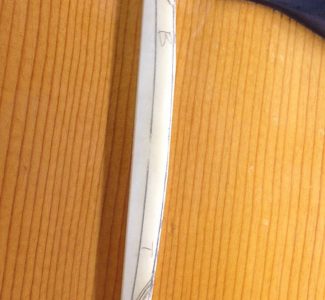
Taking its cues from where the intonation was calculated previously, I mark where the edge of the saddle will be cut. Red indicates material I will keep and dark lines indicate where material will be removed.
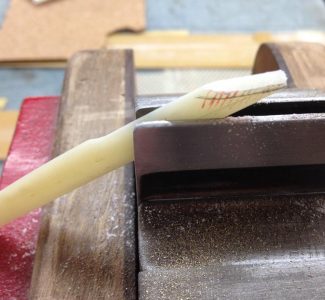
This picture shows where the saddle profile will be cut. The “B” and “T” markings make sire I don’t confuse the bass and treble sides of the saddle.
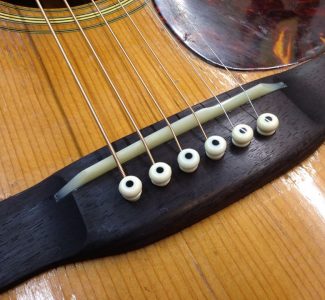
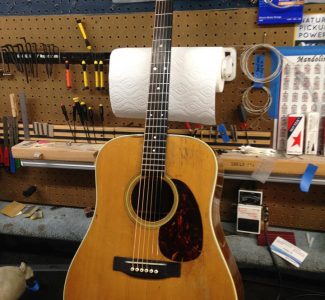
And one final shot of the 1068 Martin D-28 with its new bridge and saddle installed. If you have have a guitar in need of repair and would like a quote on our services please let us know.
I liked reading this. I have a takamine and a couple bridge pins kept popping out as I was tuning up. On closer inspection my bridge had a very similar crack. It is the original bridge that growed a crack somehow. Nice repair job on the D28!
Thank you Berndog and thanks for looking. If you need any help give me a call.