Bone is my first choice of nut material because its super dense, long lasting and beautiful. I think it’s an unbeaten part of the recipe for solid resonance and long sustain on an instrument. That’s a fractional part of the formula for great tone. Here is a short step by step pictorial of how I fabricate my guitar nuts from a solid piece of bone.
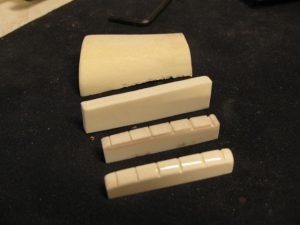
Here is the first step in the progression. Sometimes I start with a pre-made nut blank but in this case I’m making one from a bleached piece of whole bone. After I select a suitable piece it gets cut down to size on a band saw. From there it gets milled down to a suitable size on a belt sander. From there it gets refined down to its final thickness using progressively finer grit sand-paper until it tightly fits the guitars nut recess.
Not shown here are the steps of selecting, cutting down and milling the raw bone into individual blanks as described in the previous step above. I usually only mill down nut blanks using this method if I’m out of pre-made nut blanks or if I have to fabricate an odd sized nut. When I do mill them from whole bones I usually make several over sized blanks and put away some stock so that I won’t have to go through that nastiness again for a while. Frankly its a very dusty and dirty process thats compounded by a horrible smell. When I do make them from whole bone I get the benefit of being able to choose which bones are used to make them and I get to choose the most dense sections. So in that aspect milling my own bone blanks gives me a bit more quality control. But I digress.
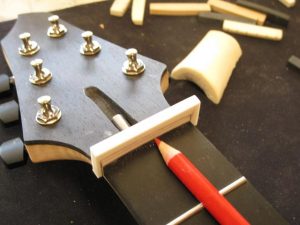
The first step of making a nut (after milling the blank) is to size the thickness of the nut to the nut slot. Once that is completed I mark out the general shape of the nut (the dark pencil line). The red line is made with a flat sided pencil that lays level against the first and second frets. This gives me my rough target depth to file in my nut slots.
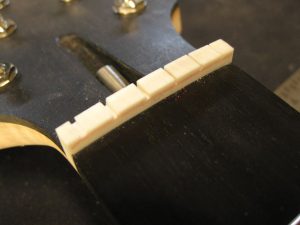
The nut comes back out of the slot and the sides are roughly shaped to the proper width and height (not shown). Once this is done the string slots and marked off using a string slot ruler. This specialized ruler adds more space between the thicker strings and compensates for the added thickness of the heavier strings. If you were to space out the slots perfectly even the E-A-D strings would seem crowded and the G-B-E strings would seem further apart.
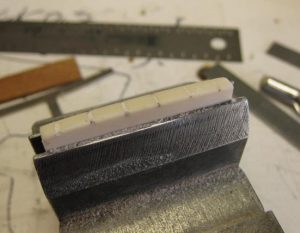
The nut is then placed in a special vice and using a set of specially gauged set of nut files that match the string widths, the nut is carefully slotted. I’m careful to not file the slots too deep at this point. The final slot depth will be done after the nut is installed on the guitar.
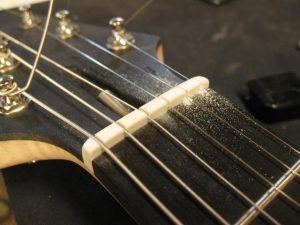
Once slotted the nut is installed and the guitar string up. I do this to check and insure proper spacing and fit. The next step is to deepen the slots closer to the final depth.
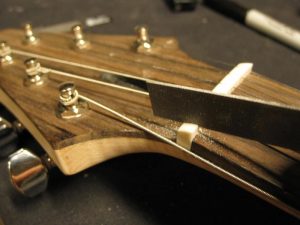
At this stage I tune the guitar to full pitch and start to fine tune the string slot depth and angle on each individual string.
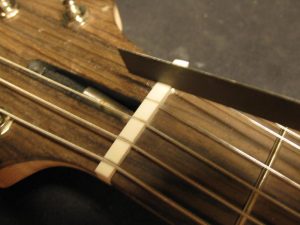
The depth of the slots in the nut determine how closely the string comes to the frets, particularly the first fret. It is important that the string have enough room to vibrate without hitting the first fret or you’ll have string buzz. Nut slots that have not been cut properly can leave the strings higher than necessary above the first fret. This creates discomfort and higher action. A minor adjustment (say .020) can make a very noticeable difference.
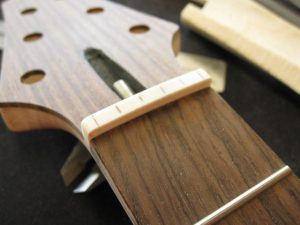
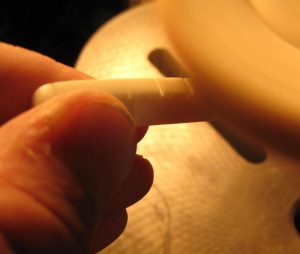
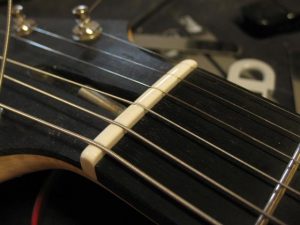
The nut is removed and filed to its final shape. I take down the top of the nut to the point where the strings are just seated just inside the nut and don’t slip when the guitar is played but not so deep that they are buried and they can bind. Rough sharp edges are sanded and softened with fine grit paper. The nut is then polished to a high gloss on a buffing wheel and installed on the guitar. The picture to the left is the final result.
Update 10/2019. Rather than take this post down I thought I’d just update it. Although we do occasionally fabricate our nuts from pieces of raw bone our standard method is to use a standard bone blanks that we get from our trusted suppliers. We do still dye many of our nuts black on builds where the aesthetics will benefit from it. Everything else about cutting a nut is still just as we have always done it.
~JW
No comments yet.